Start the Virtual Machine
Virtual machines (VM), which GCP calls Compute Engines, are like computers hosted elsewhere that a user logs into remotely to use. Like any computer, it needs to be booted up before it can be used.
Step 2. Boot the VM
Under the Compute Engine panel, click “

On the page that opens, click “View instances” in the upper left.

The page that opens will show two VM instances:
- sefsc-viame-web-…: This is a standard VM used for common data processing tasks or other non-resource-intensive processes like running machine learning (ML) models that have already been trained.
- sefsc-viame-worker-…: This is a high-performance VM with a GPU and is only used for training machine learning (ML) models. Do not use it for anything else. It is too expensive to use for common tasks.
Select the check box
Click
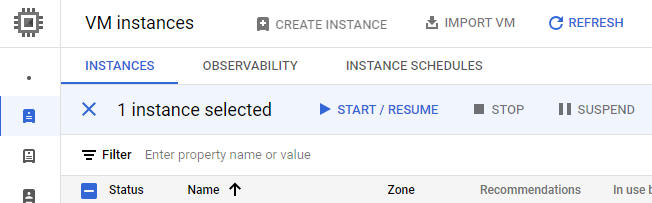
Click “START” on the verification popup. You will see a black “Starting <instance-name>…” banner at the bottom of the browser window while the VM is booting, where <instance-name> is the name of the VM instance. When it is ready, the banner will change to “VM instance started.”
3. Verify that the VM is running
There should now be a green check mark next to the running VM. If needed, refresh the dashboard using the blue